
STEP-BY-STEP DUCT LEAKAGE TEST PROCEDURES FOR COMPLIANCE
Introduction
Maintaining an efficient HVAC system requires more than regular maintenance; it also involves ensuring that air ducts are properly sealed. A Duct leakage test is essential for identifying leaks and ensuring compliance with energy codes and building standards. Following a structured Duct Leakage Test procedure guarantees accurate results and improved HVAC performance.
Why Compliance Requires a Duct Leakage Test
Many local and national building codes mandate a Duct Leakage Test for new construction and major renovations. This test ensures that HVAC systems meet efficiency requirements and prevents energy waste. By performing a Duct Leakage Test, building owners can avoid penalties and ensure their systems operate at peak efficiency.
Step 1: System Inspection
Before performing a Duct Leakage Test, the HVAC system is thoroughly inspected. Technicians check accessible ductwork, registers, and connections for visible leaks or damage. Proper inspection ensures the Duct Leakage Test accurately measures all potential problem areas.
Step 2: Preparing the Duct System
Technicians seal accessible openings and remove filters or dampers that could interfere with testing. The Duct Leakage Test requires a controlled environment where air can be pressurized, so proper preparation is critical for accurate results.
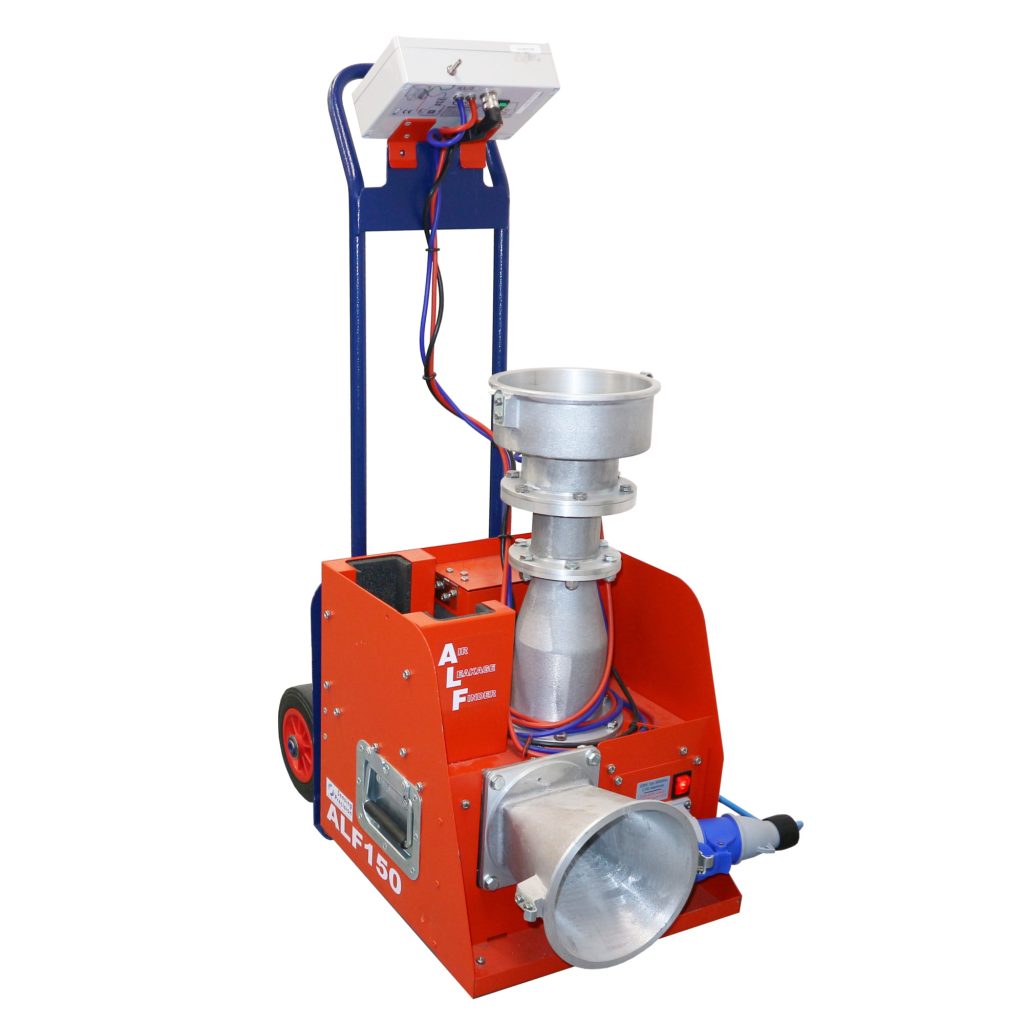
Step 3: Pressurization
Using a blower door or specialized fan, the duct system is pressurized. During this step, the Duct Leakage Test identifies how much air escapes through leaks. Accurate pressurization is crucial to determine the system’s efficiency and potential energy losses.
Step 4: Leakage Measurement
The next step involves measuring leakage at various points. A professional Duct Leakage Test quantifies the amount of air lost, providing data to target specific areas for repair. Measurement ensures that all leaks, even those not visible, are identified.
Step 5: Analysis and Reporting
Technicians analyze the data collected during the Duct Leakage Test. Results are compared to compliance standards, and a detailed report is generated. This report includes leakage rates, problem areas, and recommendations for repairs to meet code requirements.
Step 6: Sealing and Repair
After identifying leaks, technicians seal them using approved materials. Performing repairs based on the Duct Leakage Test results ensures the HVAC system operates efficiently and meets compliance standards.
Step 7: Verification Testing
Once repairs are completed, a follow-up Duct Leakage Test is conducted. Verification confirms that all leaks have been addressed and that the system now meets or exceeds efficiency and compliance requirements.
Benefits of Following Proper Procedures
Adhering to the complete Duct Leakage Test procedure guarantees accurate results, reduces energy waste, and improves HVAC system longevity. Additionally, it ensures compliance with local building codes, protects against penalties, and provides confidence that the system is performing optimally.
Conclusion
A Duct Leakage Test is a vital procedure for compliance, energy efficiency, and cost savings. By following a step-by-step process—from inspection and pressurization to repair and verification—a Duct Leakage Test ensures HVAC systems operate efficiently and meet code requirements. Proper testing and repair based on a Duct Leakage Test maximizes energy savings, comfort, and system performance.